


Getting Started with Elarian
This tutorial will build a USSD service using Elarian and Node.js.


By Wilson Gichuhi Wilson Gichuhi is a second-year Computer Science student at Jomo Kenyatta University Of Agriculture and Technology. His interests are web development, cloud computing, and data driven science. Wilson is a passionate blogger and a Tech enthusiast.
Customer service is essential to any business brand. However, picking and choosing the proper digital channels to reach your customers can be difficult. For this reason, it makes sense for businesses to embrace customer engagement software to remain relevant.
Elarian is a framework that helps you build a customer service strategy aligned with your business goals. Its focus is simplifying building data-driven applications by engaging customers over channels such as SMS, USSD, Telegram bots, WhatsApp, and more.
This tutorial will build a USSD service using Elarian and Node.js.
Prerequisites
For development, I recommend VS Code text editor.
A Node.js runtime installed in your machine.
A basic understanding of the JavaScript programming language, preferably ES6 and above.
You will need an Elarian account. To create a dashboard, sign up to elarian.
Creating an account
To get started, head over to elarian and sign up using your email and password. Alternatively, you can also use providers such as Google and GitHub to sign in.
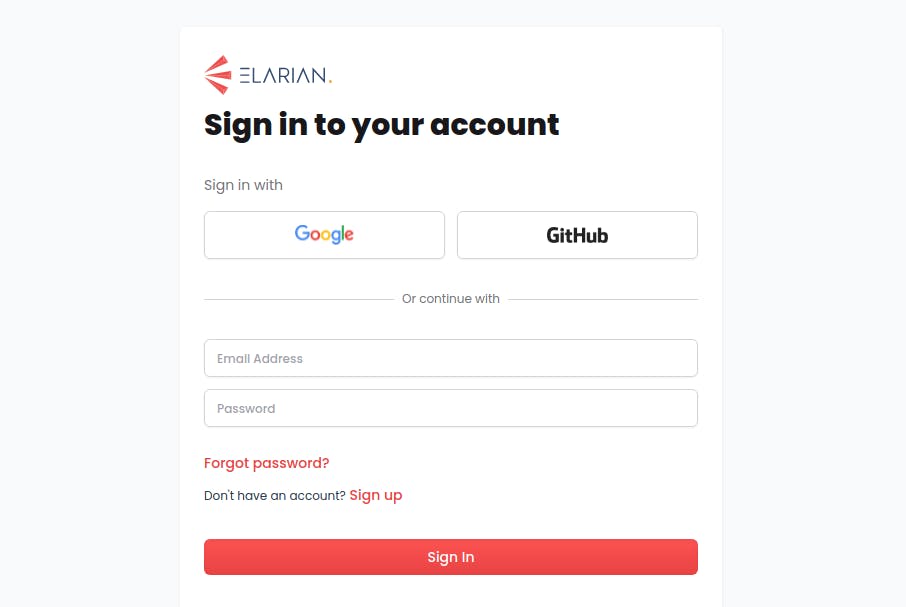 Elarian SignIn
Elarian will send an email verification link before you can access the dashboard. A successful login will take you to the Elarian dashboard that looks like:
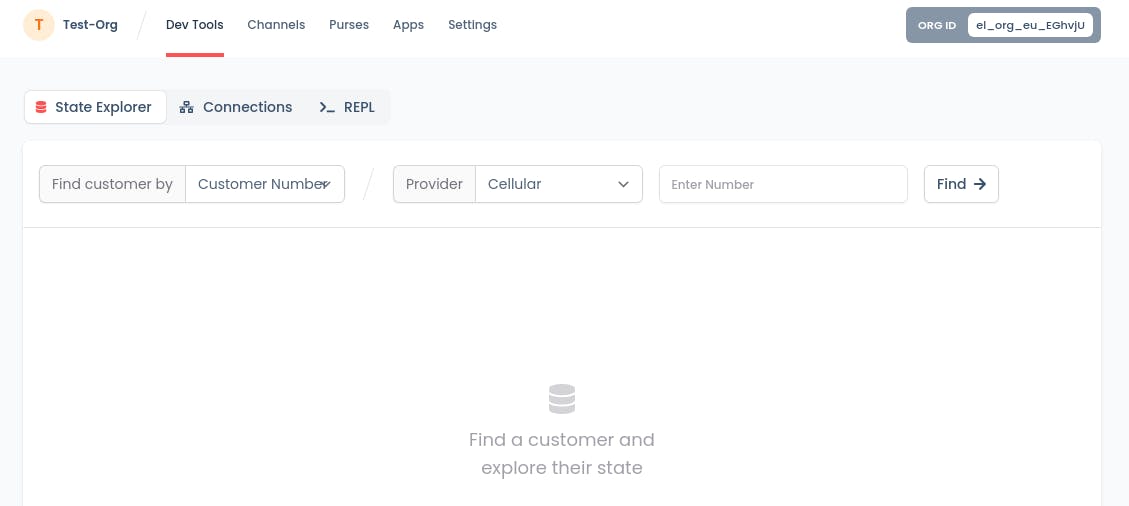 Dashboard
Setup the Node.js project
To set up the project, open your terminal and create a folder named elarian-app-demo:
mkdir elarian-app-demo
Next, navigate inside the folder and initialize the Node.js app using the command:
cd elarian-app-demo && npm init -y
Let’s now open the project folder in VS Code:
code .
The command npm init -y creates a package.json file to hold metadata relevant to our app, such as project description, versioning, dependencies, etc.
For our application, we need the following packages from npm:
- The
Elarian JavaScript SDKwith Node.js version 8 or above.
Dotenv: To safely store API keys, we will inject environment variables from a.envfile in our application, avoiding hardcoding any sensitive data. Ensure to add a .env in your .gitignore file so as to not to push this to a GitHub repository.
Nodemon:nodemon package will monitor all changes in our application and continuously restart our server.
On your terminal, install the packages using the command below:
npm i elarian dotenv
For nodemon, we will install the module as a development dependency:
npm install --save-dev nodemon
To bootstrap, create the root index.js file inside the elarian-app-demo directory and import the Elarian and dotenv packages as:
const { Elarian } = require('elarian');
const dotenv = require('dotenv');

dotenv.config()
To create a client instance of Elarian, we must pass the orgId, appId, and apiKey. Therefore, let’s head back to the dashboard to grab these credentials. To manage customers, we need to create an organization as the namespace that holds apps and channels where our customers will engage.
Click the New Organization button to create an organization on our dashboard from the left panel.
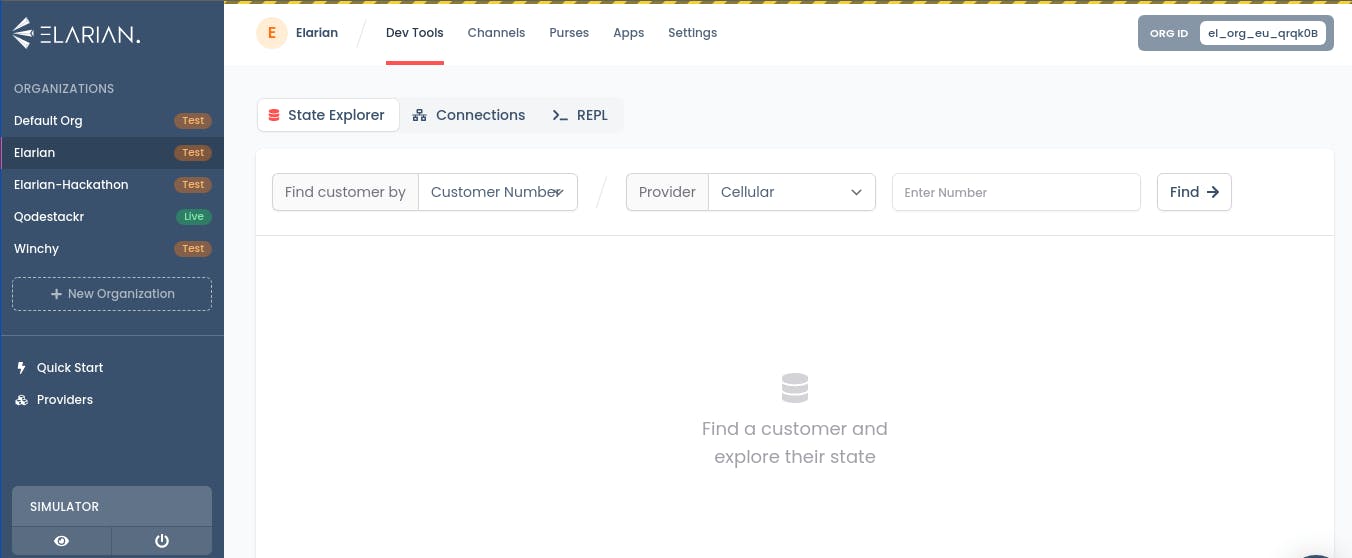 new org
In our case, we will create a test sandbox environment and name it elarian-demo. However, before generating an API key from the settings section, let’s create an app and name it customer-demo-app:
 new app
Then, under settings, we will generate an API key:
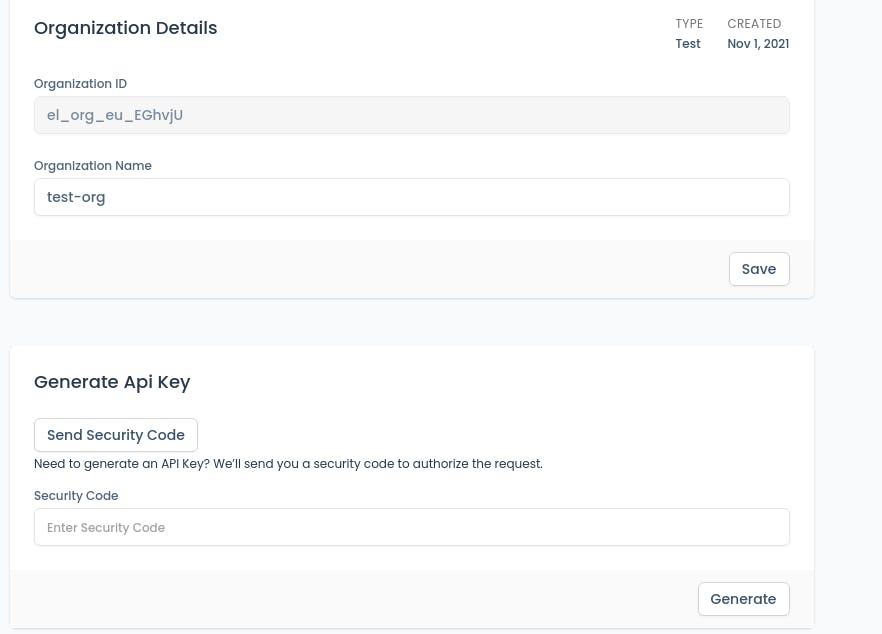 API key
You will need to safely store the orgId, appId, and apiKey in a .env file. Your .env file will have the variables as:
ELARIAN_ORGID=your_org_id
ELARIAN_APPID=your_app_id
ELARIAN_API_KEY=your_api_key
Since we have dotenv.config() initialized in our index.js, we can safely instantiate the elarianClient object with:
const elarianClient = new Elarian({
    orgId: process.env.ELARIAN_ORGID,
    appId: process.env.ELARIAN_APPID,
    apiKey: process.env.ELARIAN_API_KEY
});
Note: In the .gitignore file, be sure to exclude .env so that the credentials do not commit to any GitHub public repository.
Then, we need to listen for error and connection events from our elarianClient instance to test the connection. Notice how Elarian uses error first handlers to reserve the first event for the error object. Otherwise, a successful connection to Elarian should log the success message to the console.
elarianClient
        .on("error", (error) => {
          console.log("A connection error", error)
        })
        .on("connected", () => {
          console.log("Elarian connection is successful")
        })
        .connect()
Managing Elarian customer data
Elarian is built in mind with the customer as the unit of abstraction. To achieve this, it manages data in a reactive paradigm.
The broad category includes:
Metadata holds a key-value data store associated with information about a unique customer.
With AppData, we can store data that tracks the user’s state in our application. For example, in our USSD application, AppData will hold the user’s state in different transitions and application lifecycle. Furthermore, the data is stored in memory for quick access.
Identity Data will allow you to uniquely identify the customer from your application. With this, Elarian can initiate requests and generate data to help you improve your customer profile.
We will use the above strategies to manage customer data in the following sections.
Elarian USSD service in Node.js
Before using a USSD service, we need to register a channel from our dashboard. Head over to your account and click under the channels tab. For our case, click on the USSD Service code section.
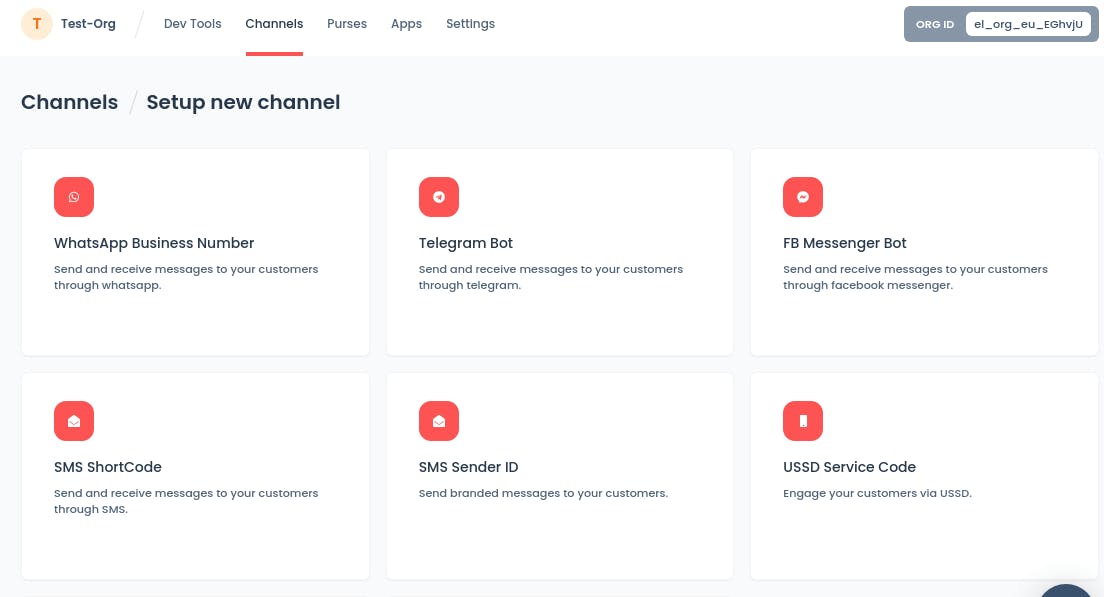 USSD Channel
We need to choose the USSD code and the app that our channel will use. The USSD code is *350#for our test case.
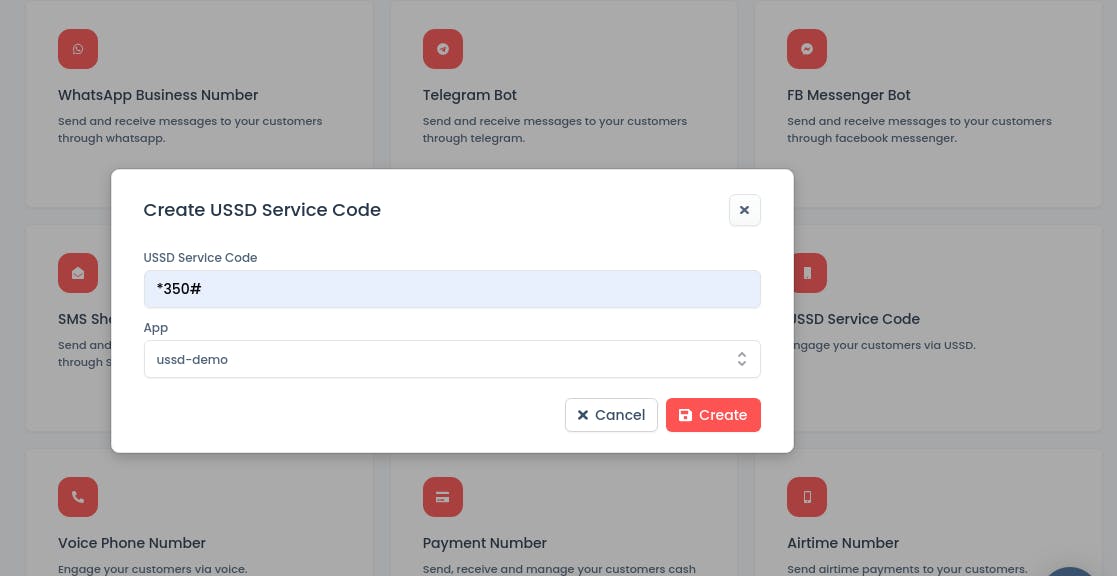 channel code and app
Having earlier established the Elarian connection successfully, we now need a function to handle our ussdSession. Just above the elarianClient connection method, add the following code snippet:
elarianClient.on('ussdSession', USSDHandler);
Here, we listen for ussdSession to fire up from the user interaction with our application and therefore execute the USSDHandler that we will be creating in a moment.
Our USSDHandler function handles user interaction with our application session. Since we use the USSD Service code as the channel, our function will need the channel data to be passed in as the arguments.
Channel data is the data that is generated from a customer while engaging with the channel. This can trigger events such as notifications or callbacks for user response. Let’s define the USSDHandler function below:
const USSDHandler = async (notification, customer, appData, callback) => {
    try {
    const input = notification.input.text;
    let screen = "home";

    // appData
    if (appData) {
      screen = appData.screen;
    }

    const customerData = await customer.getMetadata();

    let { email, name, age, password } = customerData;

    const menu = {
      text: "",
      isTerminal: false,
    };

    let nextScreen = screen;

    if (screen === "home" && input !== "") {
      if (input === "1") {
        nextScreen = "request-email";
      } else if (input === "2") {
        nextScreen = "request-password";
      } else if (input === "3") {
        nextScreen = "quit";
      }
    }

    if (screen === "home" && input === "") {
      if (name) {
        nextScreen = "request-password";
      }
    }
    }
}
Let’s briefly dissect the code above:
From our customer object, we use the method getMetaData that holds customer data such as email, name, age, and password for our communication protocol.
The notification object contains the input and the channel of communication needed to respond to the user.
AppData stores the state in memory for quick access and tracks transition between screens.
By default, the screen is set to home. We will then need to change the state and screen view depending on user interactions.
From our USSD session, we need to save the customer’s email, name, age, and password. Each step involves different screens that will be handled using a switch statement.
switch (nextScreen) {
      case "quit":
        menu.text = "Great having you";
        menu.isTerminal = true;
        nextScreen = "home";
        callback(menu, {
          screen: nextScreen,
        });
        break;

      case "info":
        name = input;
        menu.text = `Hello ${name}`;
        menu.text = "Thank you for joining us,";
        menu.isTerminal = true;
        nextScreen = "home";
        callback(menu, {
          screen: nextScreen,
        });
        break;

      case "request-email":
        menu.text = "Please enter your email";
        nextScreen = "request-name";
        callback(menu, {
          screen: nextScreen,
        });
        break;

      case "request-name":
        menu.text = "Please enter First and Last names";
        nextScreen = "request-age";
        callback(menu, {
          screen: nextScreen,
        });
        const resp = await customer.updateMetadata({
          email: input,
        });
        console.log(resp);
        break;

      case "request-age":
        menu.text = "Please Enter your Age";
        nextScreen = "password";
        callback(menu, {
          screen: nextScreen,
        });
        await customer.updateMetadata({
          name: input,
        });
        break;

      case "request-password":
        menu.text = "Enter your password";
        (nextScreen = "info"),
          callback(menu, {
            screen: nextScreen,
          });
        break;

      case "password":
        menu.text = "Please set a password";
        nextScreen = "authorize-account";
        callback(menu, {
          screen: nextScreen,
        });
        await customer.updateMetadata({
          age: input,
        });
        break;

      case "authorize-account":
        menu.text = `Great! ${name}, you have joined Elarian!`;
        menu.isTerminal = true;
        nextScreen = "home";
        callback(menu, {
          screen: nextScreen,
        });
        await customer.updateMetadata({
          password: input,
        });
        break;

      case "home":
      default:
        menu.text = "Welcome to Elarian!\n1. Register\n2. Login\n3. Quit";
        menu.isTerminal = false;
        callback(menu, {
          screen: nextScreen,
        });
        break;
    }
  }
To check that everything is working, we can run a test to go back to the dashboard. On the bottom left, launch the USSD simulator. The simulator will prompt the phone number and a USSD code. Here is a working test!
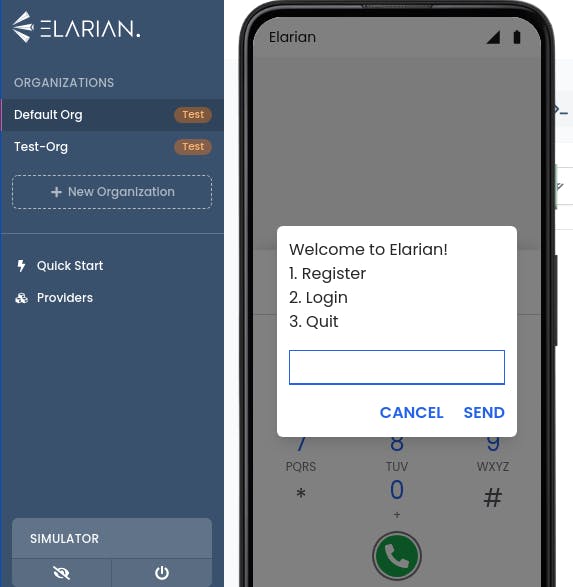 first screen
After a successful USSD prompt, we should see the following message before the simulator closes:
 final screen
You can check the source code for this application on Github here .
Conclusion
In conclusion, Elarian is a service provider that helps achieve a customer-first business model. It helps meet your business need by seamlessly integrating with the vast channel of providers.
It does this in a reactive programming style that is robust, scalable, and hassle-free in infrastructure deployment and management.
For further information on how to integrate USSD, SMS, WhatsApp, Telegram bots, Africa’s Talking, and payment functionalities, check out Elarian docs.
Happy coding!